We Are the Orchid Children. A call to highly sensitive musicians. “Dandelion” children are those resilient and healthy kids who can survive and thrive under most circumstances. “Orchid” children, on the other hand, are those sensitive and fragile kids who need the right kind of support in order to survive and thrive. This is according to four decades of research by the world-renowned pediatrician Dr. W. Thomas Boyce, who coined the terms “dandelion” and “orchid” in reference to how sensitive a child is. When orchid kids don’t get the gentle childhoods they need, they go adrift. Drugs, delinquency, depression, and all kinds of other dark forces descend upon them. The silver lining of this cloud, though, is that orchid kids often turn to creativity as a way of trying to make sense of a world that seems upside-down. That’s because the world is made by dandelions, for dandelions. If you’re a dandelion, you’re lucky, you naturally fit into society. Enjoy it! This post, however, is for the orchids. Why? Well, because I’m an orchid. And to be sure, the researchers tell us about all the advantages of being an orchid, and that we’re lucky too, just for different reasons. But, most days it really doesn’t feel like we’re lucky. A quick sidebar. As with all categorizations, in reality this is more of a spectrum. In fact, further research identified “tulip” children. They’re the group in the middle. Not as robust as dandelions, but not as sensitive as orchids. Tulips apparently make up the largest portion of the population, at 40%. The low-sensitivity dandelions account for 30%, and us highly-sensitive orchids are the other 30%. Subscribe to get the latest posts in your inbox. This breakdown is slightly different to the research done by one of the other pioneers in this field, the psychologist Dr. Elaine Aron. Her data shows that about 20 to 30% of the population are Highly Sensitive Persons, or HSPs, a term she coined. Either way, the exact percentage doesn’t matter, what matters is that we’re not alone. About one in four or five people are also orchids, like us. Let’s remember that next time we’re doing our grocery shopping and feeling overwhelmed by the intensity of noise, lights, smells, and most overwhelming of all, the frantic energy of other people. At that moment, look around. If you can see at least 10 people, then one of them is probably also an orchid. See if you can spot them. It’s pretty easy. They’ll be the one who looks as uncomfortable as you feel. By the way, if you’re not sure whether you’re an orchid, you can take Dr. Aron’s online test for high sensitivity over at hsperson.com. And to be clear, orchids and HSPs are referring to the same group of highly sensitive people, they’re just different terms coined by different doctors. Now, I mentioned earlier that orchids often turn to creativity as a way to cope with a world made by dandelions. This is why HSPs are over-represented in all of the arts. In fact, if you scroll through your personal music library, most of the artists in there will probably be fellow orchids. That brings me to one of the most important takeaways from the research in this field: Orchids are not failed dandelions! Yes, the world is an overwhelming place for us orchids, but our high sensitivity is to everything. Bad stuff, yes. But good stuff, too. That’s why beautiful music can move us to mystical experiences. And fun music can lift our spirits within seconds. When we listen to music, it saturates our souls. We become the music. Subscribe to get the latest posts in your inbox. I’ve mainly been listening to soothing instrumental music lately. I discuss the reason for this in a previous post, titled This Is The Only Pure Music. One of the many reasons, though, is for music therapy. You see, mental health problems like anxiety and OCD are common in orchids. That’s because childhood traumas imprint themselves far more deeply into the unconscious patterns of orchid kids. Many of those traumatic events occurred before we learned to talk. Therefore, we weren’t able to process them in a rational way. Instrumental music has a magical ability to reach right back into our pre-talking baby brains and sooth them. Maybe that’s the reason why God gave us music? Music heals. So if you’re a fellow orchid kid, this is my invitation to you. Start listening to soothing instrumental music today. And listen when you’re safe and sound at home, with headphones, and your eyes closed. If you’re not sure what to choose, I recommend John Field’s Nocturnes. My favourite recording is by Elizabeth Joy Roe. And if you’re feeling inspired to play a more active role in your healing, and you’d like to actually create your own soothing music, then I’ve got you covered. From beginner to advanced, there are tons of helpful resources for you over on my website. If you’re a beginner, start by reading my free ...
Show More
Show Less

 May 27 202613 mins
 May 19 20264 mins
 May 12 20268 mins
 Apr 17 20266 mins
 Mar 27 20269 mins
 Mar 13 202610 mins
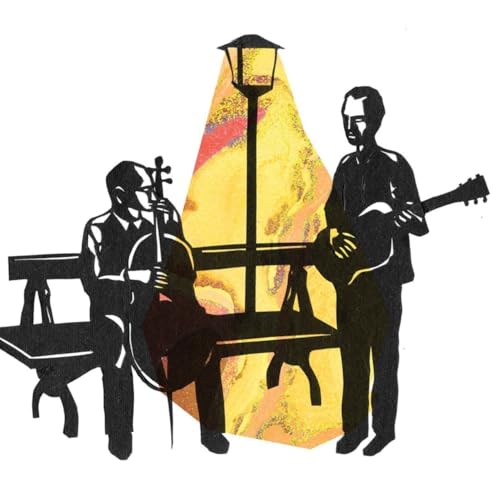 Mar 6 20269 mins
 Feb 21 20267 mins